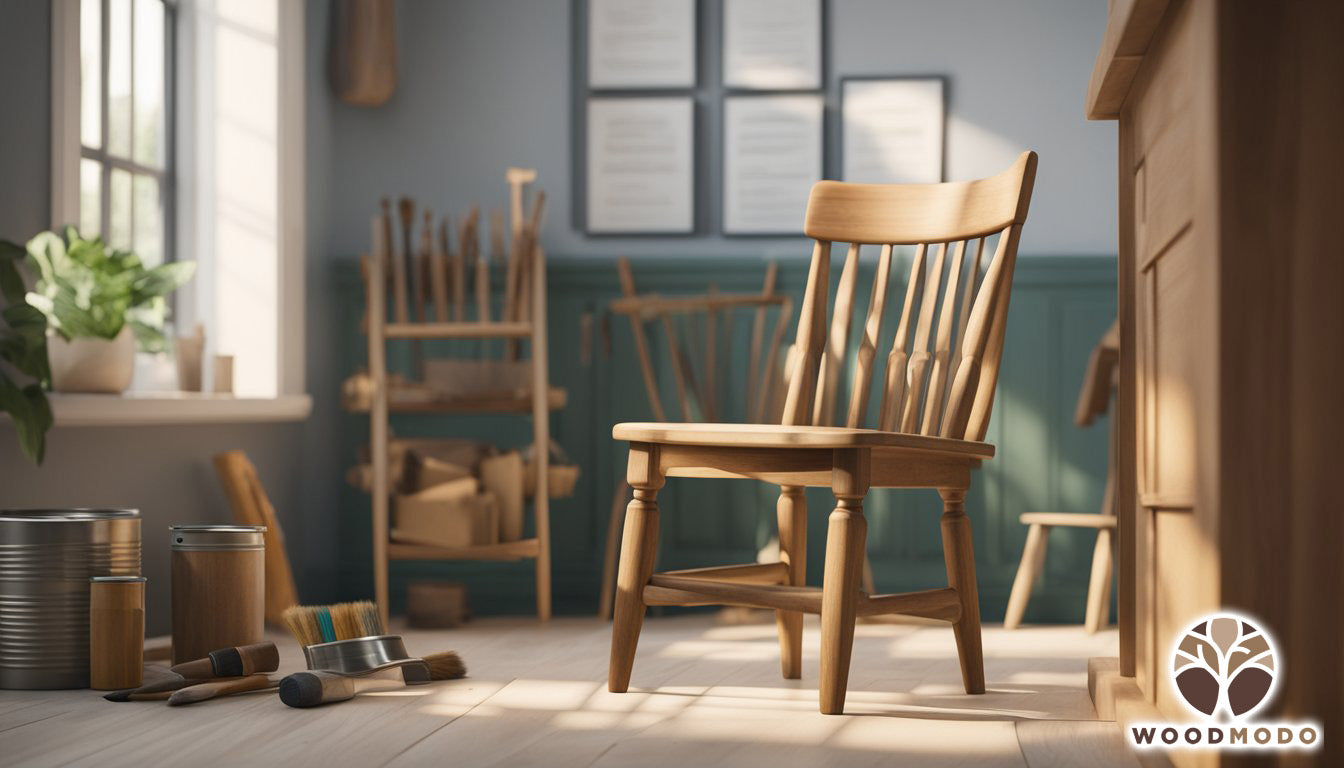
Giving your wood furniture a fresh coat of paint or varnish is a fantastic way to breathe new life into old pieces or to add a splash of color to your living space. Whether you're tackling a beloved heirloom or a flea market find, painting wood furniture requires a bit of preparation and the right technique to ensure a smooth finish. The process isn't just about slapping on some paint; it's an opportunity to get creative and make something uniquely yours.
Before you dive into your furniture painting project, there are a few key steps to follow for the best results. It's essential to start with a clean surface, free from dust and grime, so the paint adheres properly. Removing any loose paint from previous layers and sanding the surface smooth will help you achieve an even, professional-looking finish. Sanding is not only vital for assisting the new paint to cling to the furniture, but it also helps eliminate any imperfections that could mar the final product.
Painting wooden furniture is as much about the prep work as it is about the act of painting. Once your piece is sanded, applying a primer is crucial, especially if you’re making a drastic color change or working with a dark wood. A primer will not only help cover any blemishes or stains but also provide a base that will bring out the best in your chosen paint color. With the right preparation and patience, your painted wood furniture will not only look stunning but also withstand the test of time, ready for future generations to enjoy.
Planning Your Furniture Painting Project
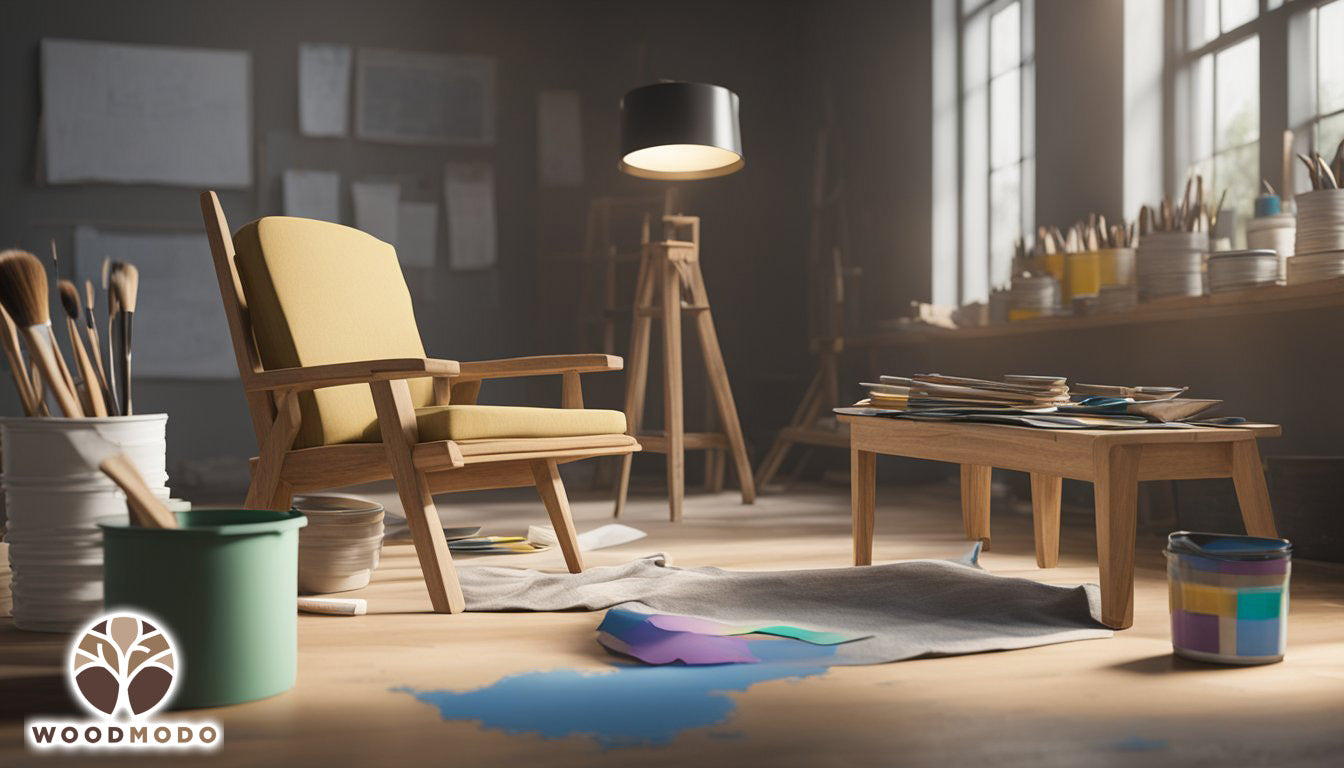
Before starting your furniture painting project, you need to choose the right type of paint and tools, and prepare your workspace properly. Paying attention to these details will help ensure that your hard work pays off with a beautiful, lasting finish.
Understanding Different Types of Paint
When selecting paint you'll encounter several options, each with its advantages. Latex paint is popular due to its easy cleanup and durability. Chalk paint offers a matte finish and doesn't usually require sanding or priming. Meanwhile, oil-based paint is renowned for its superior smooth finish but requires more preparation and cleanup. Consider the use of your furniture and the look you desire when choosing your paint.
- Latex paint: Easy to clean, good for general use.
- Chalk paint: Matte look, minimal prep work.
- Oil-based paint: Smooth finish, more prep and cleanup needed.
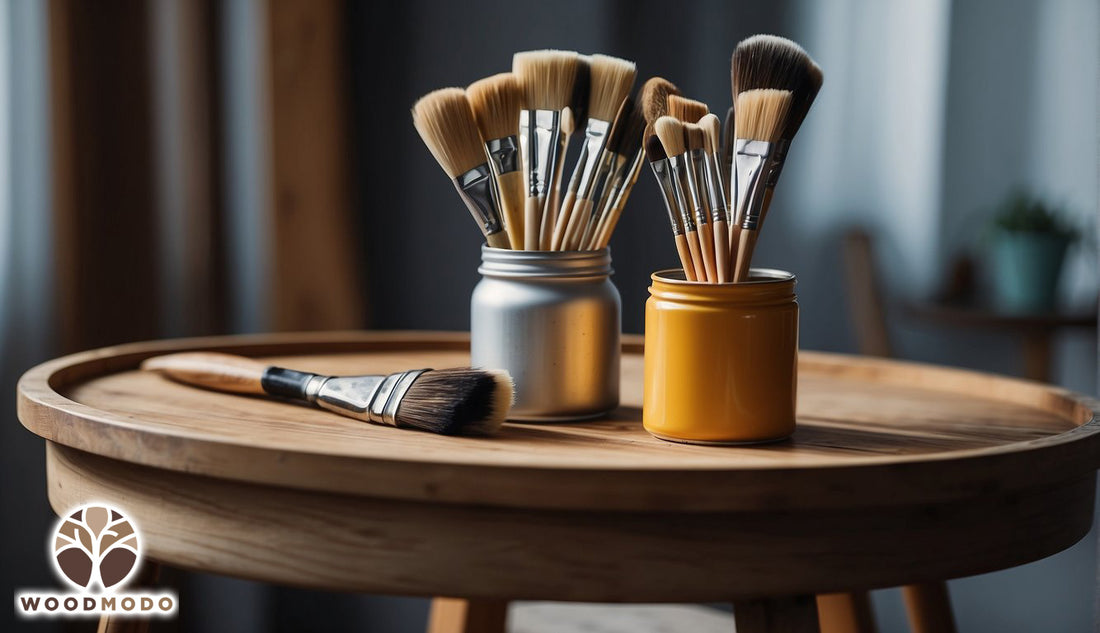
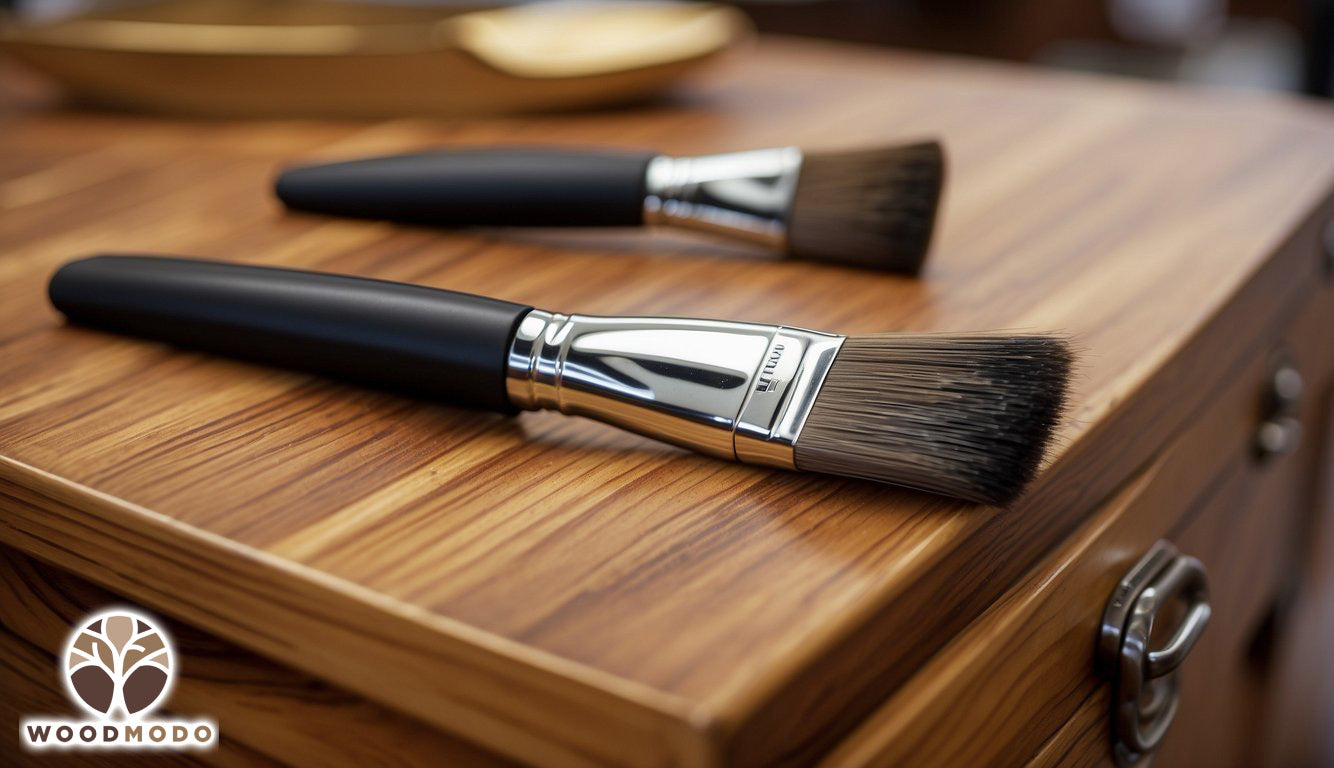
Choosing the Right Tools
For a successful paint job, you’ll need the correct tools:
- Brushes: Get a variety of sizes to cover all areas of your furniture. An angled brush is great for corners and details.
- Sandpaper: Have multiple grits to properly sand your furniture before painting.
- Primer: If you're not using a paint-and-primer combo, apply a layer of primer first.
It's important to choose a high-quality brush that matches the type of paint you're using to attain a smooth finish.
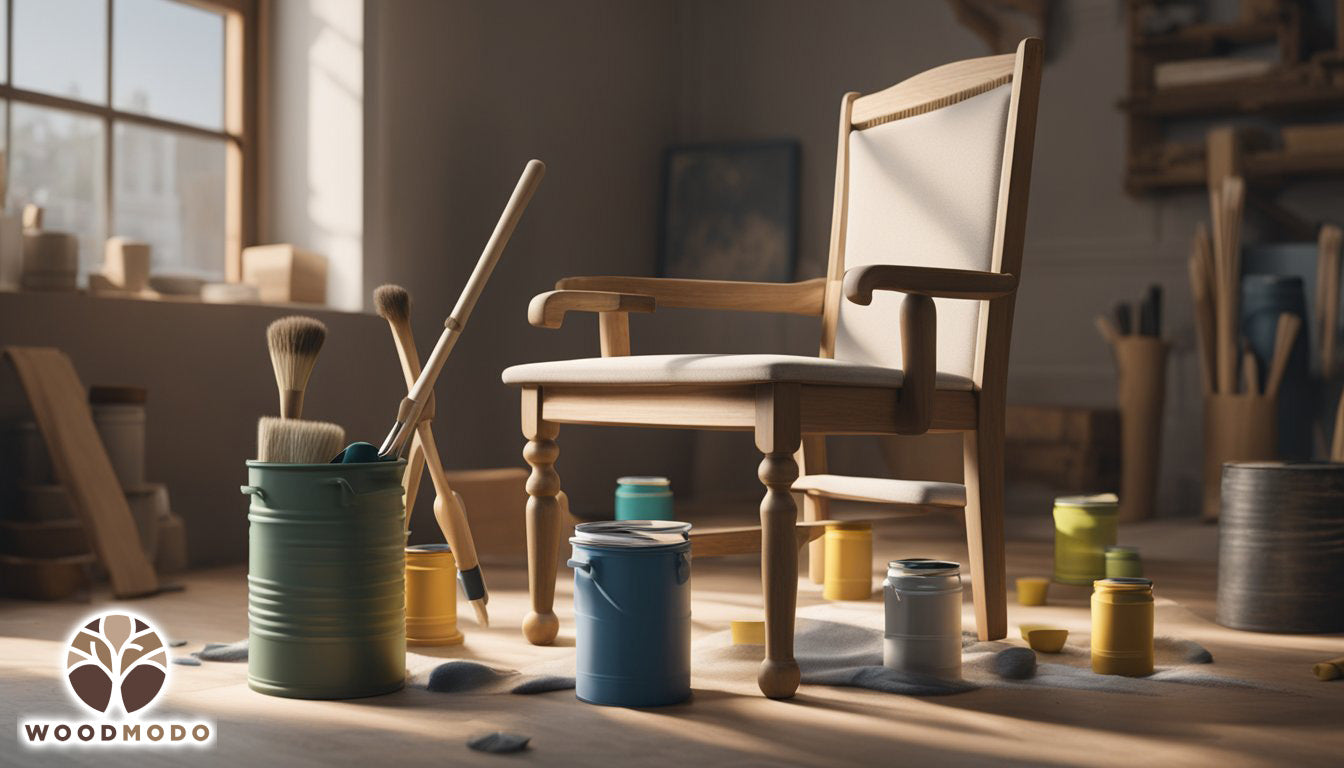
Preparing Your Workspace
Ensure that your workspace is well-ventilated; open windows or use fans if necessary. Always start by placing a drop cloth or tarp to protect the floor from spills and drips.
- Ventilation: Make sure the area is well-aired.
- Drop cloth: Essential to keep your floor clean.
- Safety gear: Gloves and face masks if you want the additional protection.
Having all your materials within reach will streamline the process.
Preparation of Furniture
To ensure the best results when painting your wood furniture, proper preparation is essential. This includes thorough cleaning, precise sanding, addressing any damage, and priming the surface to optimize paint adhesion.
Cleaning the Furniture
Begin with cleaning. Remove all hardware from the furniture. Then, use a cleaner specifically designed to strip away residues, oils, and grease, without leaving behind any finish that can affect paint adhesion.
- Take doors off hinges and pull out drawers.
- Label all hardware and store in separate bags.
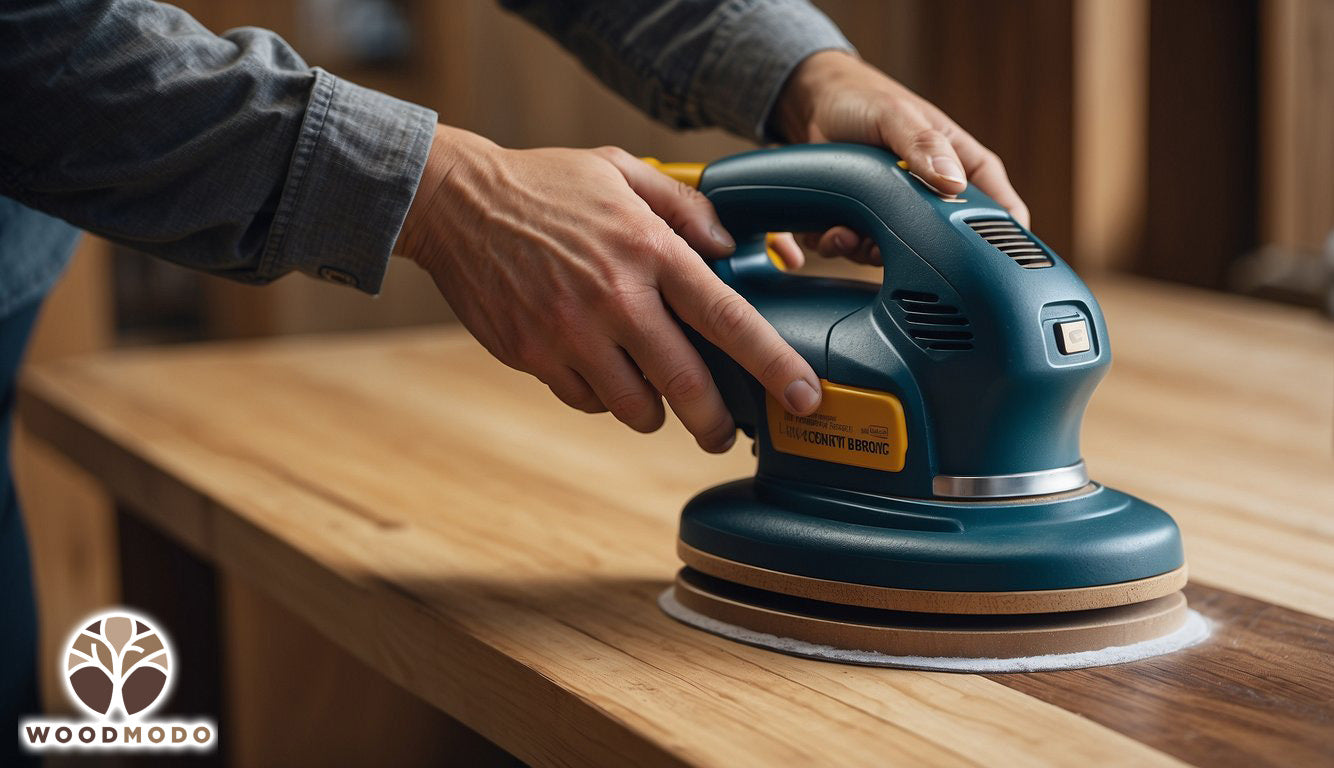
Sanding for a Smooth Surface
Sanding is the next step. Always move with the wood grain to prevent scratches that can show through the paint.
-
Choose sanding tools:
- Hand sanding is fine for small projects—use sanding sponges or a sanding block.
- For larger items, an orbital or palm sander can save time and effort.
- Start with coarser grits to remove old finish and move to finer grits to smooth the wood surface.
- After sanding, wipe down the wood with a cloth to remove all dust.
Addressing Repairs and Flaws
Inspect the furniture for any cracks, dents, or chips. Fill these imperfections with wood filler and allow it to dry completely. Once dry, sand the filled areas to make sure they are flush with the rest of the surface.
Priming for Paint Adhesion
Priming is essential. It gives you a smooth base for paint and ensures the true color shows through.
- Apply primer with a brush, moving in the direction of the grain.
- Allow the first coat of primer to dry, then lightly sand with a fine-grit sanding sponge.
- Apply a second primer coat if necessary to achieve a smooth, even base.
Remember to let the primer dry completely according to the manufacturer's instructions before moving on to painting.
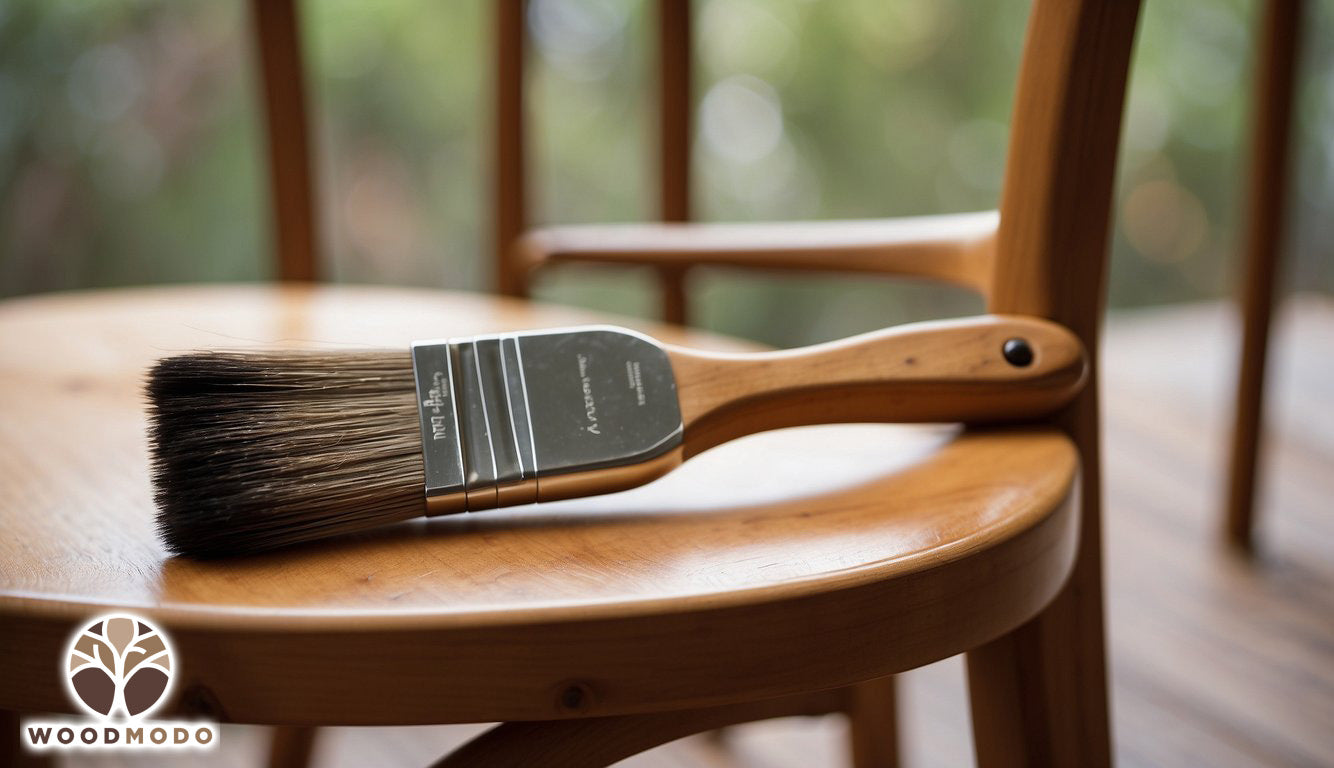
Painting Techniques

When you decide to give your wood furniture a fresh coat of paint, the technique you use makes all the difference. Each method has its own perks, from the quality of the finish to the ease of application.
Brush and Roller Application
To paint with a brush or paint roller, start with a clean, dry surface. For brush application, use a high-quality paint brush that doesn't lose bristles easily. Apply thin coats of paint to avoid drips and runs, and ensure you're working toward an even coverage.
-
Roller Tips:
- Use a small foam roller for a smooth finish.
- Roll paint on in a "W" pattern, then fill in the gaps with straight, overlapping strokes.
Spray Painting Method
Spray painting offers a quick way to cover your furniture evenly, especially the nooks and crannies that brushes and rollers might miss. Always use a spray primer first to help the paint adhere better and give a smoother result. When you spray paint:
- Shake the can well.
- Keep the can moving to apply thin, even coats.
- Maintain a consistent distance from the surface.
- Let each coat dry completely before applying the next.
Achieving the Desired Finish
The final look of your furniture will depend on the choice of finishes and the application technique. Different sheens, such as matte, satin finish, or glossy, can be achieved by using the appropriate type of paint and applying it correctly. Here’s how to get it right:
- For a matte finish: use a flat paint and apply it with a brush or roller for a less reflective look.
- For a satin finish: choose a paint with a satin sheen and apply with a fine foam roller to get a smooth, pearl-like appearance.
- For a glossy finish: apply a glossy paint with either a high-density foam roller or a sprayer to achieve a shiny, reflective surface.
Always remember, multiple thin coats are preferable to one thick coat to get a professional-looking result without drips or texture problems.
Adding Finishing Touches
If you have gone for a natural look, you may want to protect your work with the right sealant and spruce up the piece by addressing its hardware. These final steps ensure longevity and functionality.
Applying Sealant or Topcoat
Sealants like polyurethane, lacquer, or varnish provide a durable finish that protects your furniture from scratches, stains, and water damage. Here's how you can apply them:
-
Polyurethane: Best for high-traffic pieces due to its durability. Apply with a high-quality brush or a foam applicator for a smoother finish. Use thin coats and lightly sand with fine-grit sandpaper between each coat after it dries.
Type of Polyurethane Coats Required Drying Time Water-based Min. 3 Coats 2-4 Hours Oil-based Min. 3 Coats 8+ Hours - Lacquer: Dries quickly and offers a glossy finish. It's best applied with a sprayer in several light coats. Ensure proper ventilation due to its strong odor.
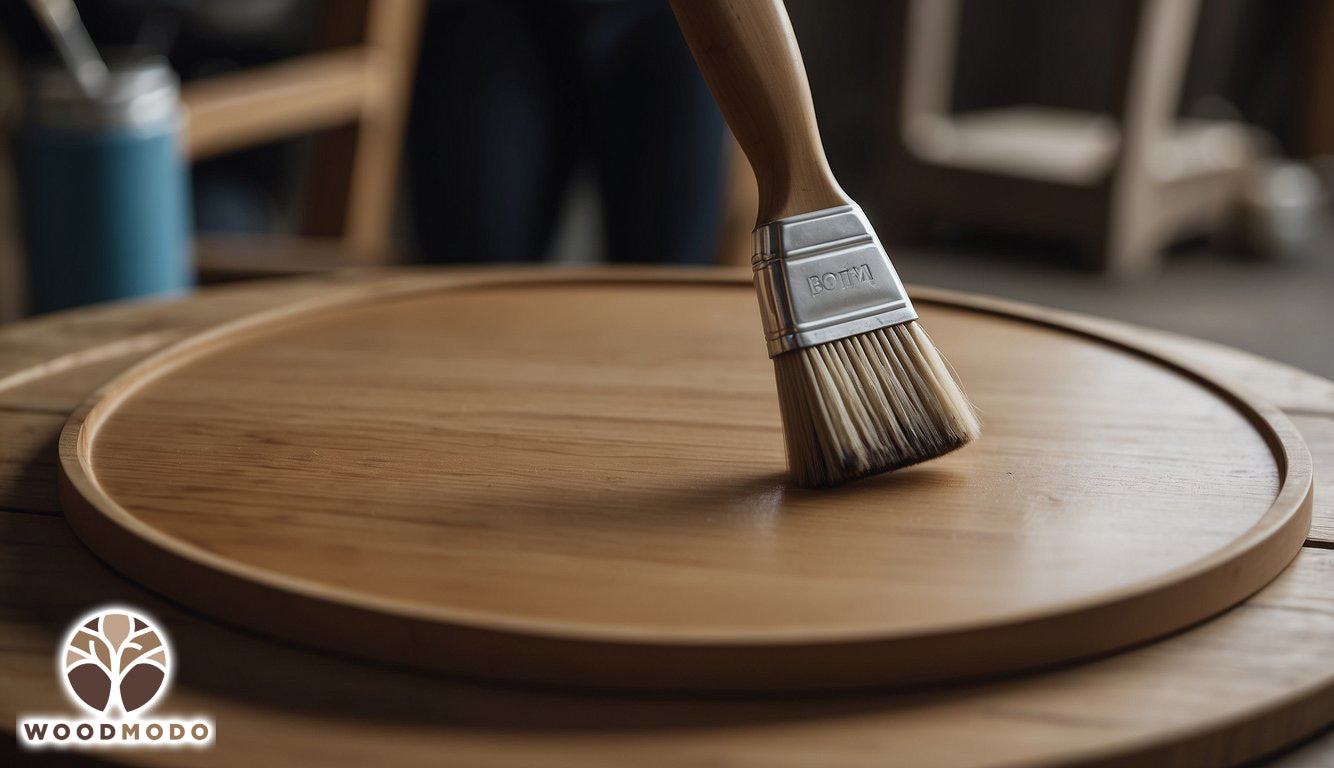
- Varnish: Enhances the natural wood look and offers great protection. Apply with a brush in the direction of the grain, allowing it to dry fully between coats.
Reattaching or Replacing Hardware
Once your topcoat is dry, it's time to focus on the hardware such as knobs, handles, and hinges.
-
Reattaching Hardware: If you're using the original hardware, clean it thoroughly, and ensure it’s dry before reattaching. Align carefully to prevent stripping the screw holes.
- For drawers, check the slide mechanisms and lubricate if necessary to ensure they move smoothly after you've reattached the hardware.
-
Replacing Hardware: Updating hardware can completely change the look of your furniture. Shop for pieces that match the holes already drilled in your furniture to make this process easier. If you find new hardware that requires different holes, fill the old ones with wood putty before drilling the new ones (This should of course be considered before painting is done).
- When selecting hardware, consider the function and the weight of the drawer or door it will be attached to; heavier drawers require more durable hardware.
Using the right topcoat and fresh hardware can transform and extend the life of your painted wood furniture.
Aftercare and Maintenance
After you've beautifully painted your wood furniture, ensuring its longevity is your next priority. Here are steps you can follow to maintain its fresh look and protect it from wear and tear.
Drying Time:
- Be Patient: Wait for the paint to cure fully before you use or place anything on the furniture. This could take anywhere from 24 hours to even a few days, depending on the type of paint you've used.
- Circulate Air: Keep the room well-ventilated to aid the drying process. Avoid exposing the furniture to direct sunlight, as this can cause the paint to fade or crack.
Cleaning:
- Gentle Approach: Clean the surface with a soft, damp cloth. Avoid harsh chemicals or abrasive cleaners.
- Regular Dusting: Use a microfiber cloth to dust the furniture regularly, which will help maintain the paint finish.
Protective Finish:
- Apply a Sealant: Consider using a clear sealant for extra protection. This will safeguard the paint from scratches and chips, especially on frequently used pieces.
- Reapply as Needed: Over time, you might need to reapply the sealant, particularly for high-traffic surfaces like tabletops.
Follow these simple steps, and you'll have furniture that remains vibrant and sturdy, retaining its finished look for years to come.
Special Painting Techniques
Experimenting with special painting techniques can elevate the look of your wood furniture, creating unique styles that stand out. Here are some specific methods to achieve that one-of-a-kind finish.
Distressing for an Antique Look
To achieve an antique look through distressing, start by painting your furniture piece with chalk paint, as it's easy to work with and dries to a matte finish that's perfect for distressing. Once the paint has dried, take a piece of sandpaper and gently rub areas of the furniture that would naturally show wear over time, like edges and corners. This will expose the wood beneath, giving the item a charmingly weathered appearance.
Using Advanced Techniques for Unique Finishes
For more advanced finishes, try using milk paint, which is known for its eco-friendly properties and historic use on antique furniture. Unlike chalk paint, milk paint has a unique consistency that can create a variety of finishes, from smooth and sleek to chippy and textured, depending on the preparation and application.
- For a smooth finish, apply milk paint in thin layers, sanding lightly between coats.
- For a chippy look, resist the urge to sand and let the paint crackle and chip on its own.
Incorporate techniques such as layering different paint colors or glazing over a base coat to introduce depth and complexity to your finish. Remember, practice makes perfect, so don't be afraid to experiment on a small piece before tackling larger projects.
Safety and Best Practices
When painting your wood furniture, prioritize proper airflow in your workspace and wear appropriate protective gear to shield yourself from potential hazards.
Ensuring Proper Ventilation
To safeguard your health, ensure adequate ventilation in the area where you're working. Paint fumes can be harmful if inhaled in large amounts, so it's vital to keep the air circulating. Here's how you can maintain a well-ventilated space:
- Open windows and doors: This simple step creates a cross breeze that helps dissipate paint fumes.
- Use fans: Position fans near windows or doors to help direct fumes outside.
- Take breaks: Step outside periodically for fresh air, especially if you start to feel lightheaded.
Protective Gear and Safety
Your personal safety gear can protect against the irritants and chemicals in paint. Make sure to have the following items:
- Gloves: Wear nitrile or latex gloves to protect your hands from paint and chemicals.
- Drop Cloth: Place a drop cloth on the floor and over any nearby furniture to shield surfaces from drips and spills.
- Face Mask/Dust Mask: Depending on the paint type, a dust mask or a more robust face mask may be necessary to prevent inhalation of fine particles and fumes.
In reality, you may not need all this protection for a small one-off paint job, but if you, like many people, take up painting wood furniture as a hobby, you should seriously consider these protections.
Troubleshooting Common Painting Problems
While painting your wood furniture, you might encounter a few hiccups such as drips, runs, and unpleasant smells or fumes. Knowing how to address these issues will help you achieve a smoother finish and a more pleasant working environment.
Handling Paint Drips and Runs
Drips and runs can take away from the beauty of your freshly painted furniture. If you spot a drip or run while the paint is still wet, quickly smooth it out with a clean brush or roller. For the most effective application, paint in thin layers and maintain a wet edge to prevent paint buildup at the edges.
- To fix dried drips or runs, you'll need to:
- Wait for the paint to completely dry.
- Sand the area with a fine-grit sandpaper to even it out; sand in the same direction as the wood grain to avoid scratching.
- Wipe away the dust with a tack cloth or slightly damp cloth.
- Apply a new, thin coat of paint over the repaired area.
Dealing with Smells and Fumes
Paint can emit strong smells and potentially harmful fumes that make your painting project less enjoyable and healthy. To mitigate this:
- Ensure adequate ventilation:
- Open windows and doors.
- Use fans to direct fumes outdoors.
- Consider using paints labeled as low-VOC or zero-VOC to minimize the release of volatile organic compounds, which can reduce how overpowering the smells can be.
- If the smell persists and causes discomfort, wear a painting mask specifically designed to filter out paint fumes.
Conclusion
Painting your wood furniture can transform your home, giving life to heirloom pieces or revitalizing inexpensive finds. Your dedication throughout the process is key to achieving a professional-looking finish, whether you're upcycling for your home or as part of a business venture.
- Preparation: Remember that proper prep sets the tone for the entire project. Sanding, cleaning, and priming make a significant difference.
- Paint Selection: Choose the right paint for durability and the desired finish. Matte gives a modern look, while gloss can feel more traditional.
- Tools: Brushes and rollers affect outcome—invest in good quality for a smoother coat.
- Technique: Apply thin coats; patience pays off in a streak-free finish. Allow adequate drying time between coats.
- Care: Once dried, treat your newly painted furniture with care to ensure longevity.
Whether you're preserving antiques or sprucing up a garage sale find, you now have the skills to create a piece that stands out. Your furniture can become a conversation piece, an element of decor, and a testament to your personal style. Enjoy the transformation and the creative fulfillment it brings!